
Taking photos while you’re diving is clearly more complicated than your typical point-and-shoot situation or snapping an image with your phone. If you’re just beginning to explore the world of underwater photography, these five underwater photo tips for beginners can help.
There are many critical factors when it comes to underwater subjects, including lighting, distance, temperature, buoyancy, and the fact that everything is moving.
When you’re diving in saltwater you must also remember that objects can appear 34 percent larger and 25 percent closer than they truly are because of light refraction through both your mask and the water. With that in mind, here are a few tips to help you get started.
Get closer
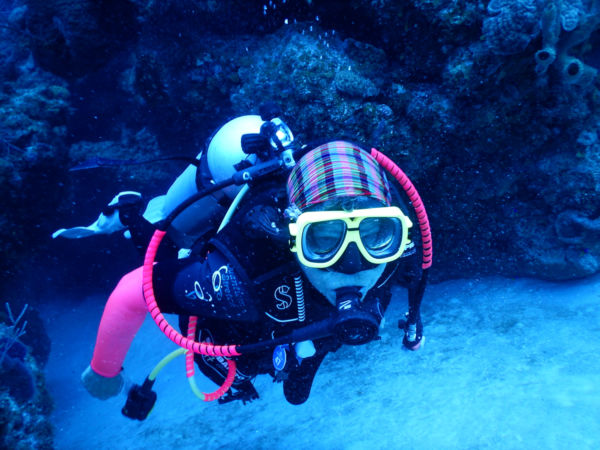
Always try to get as close to your subject as you can without scaring it or disturbing its habitat in any way. While it might be relatively easy to snap a photo of a wreck or marine life from a few feet or meters away, the closer you are, the better the photo. While you’re slowly and non-threateningly moving toward your subject, try to frame the animal in your lens finder by aiming a bit in front of it. This will allow it to move into your field of vision so you can snap away.
While getting closer is a simple, commonsense tip, it can work wonders for the final results. Using a wide-angle, fisheye lens can also bring objects a bit closer and create some dramatic framing with other objects on the sides. So get close — slowly — or just maintain neutral buoyancy in one fishy spot and wait for something to drift in front of you before you snap it.
Shoot up

This tip is simple: always shoot up, never down. Doing so enables you to get better quality photos with better lighting. This rule holds true for both still images and video.
Shooting up takes advantage of natural light, such as the sun filtering through the water. This is particularly picturesque when it comes to silhouetting a diver or sea life. It also helps brighten the subject matter with ambient light for better results.
Shooting up is also another way to get closer to your subject. If you’re below the animal, it may not notice you slowly rising as much as it would if you’re above it and trying to quickly accelerate toward it as you descend.
Use light

Use ambient light whenever possible — the closer you are to the surface on a bright, sunny day, the better. If you’re more than 10 feet (3 m) away from your subject, ambient light may offer an opportunity to capture a good image if you’re shallow and near the surface’s sunlight.
But, if you’re at depth, you’ll need at least a single flash from an underwater camera to throw some light onto an object. Put a large strobe or a bank of lights on your camera to supply enough illumination and properly brighten your subject for a great quality image and help to eliminate the blue tones that plague so many underwater images. In a pinch, a torch can even help add a splash of supplemental light.
Always be ready
Nowhere is the adage to “be prepared” truer than when you’re diving or snorkeling because you never know what you’ll see. You don’t want to miss out on the shot of a lifetime because you left your camera charging on deck, so make sure your batteries and gear are always ready to go when it’s time for the next dive. Make sure you’ve got enough space in your memory card and your settings are properly calibrated for the dive. Are you shooting macro? Wide-angle? Plan in advance. After all, sea life doesn’t wait for you to photograph them — you’re on their schedule.
Shoot prolifically
Before digital cameras, divers were limited to the number of images on the roll of film they were using, so 36 was the maximum. Now, you can take dozens of photos per dive –– the only limit is the size of your camera’s memory card.
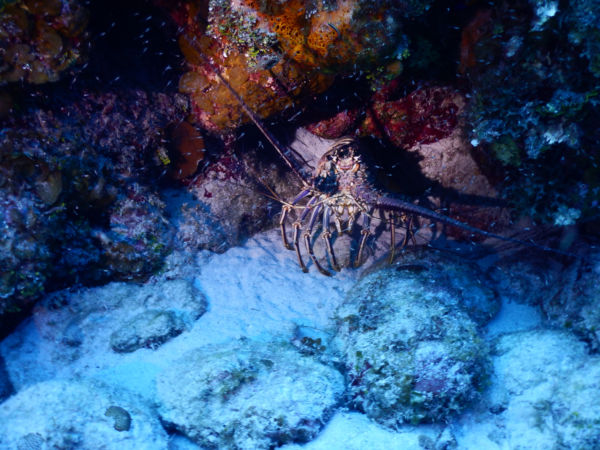
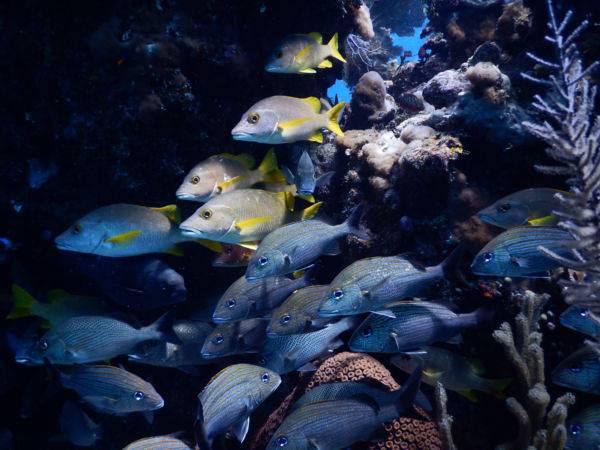
So when you see a cool shot, such as a clownfish closeup, a color-changing cuttlefish, or a toothy barracuda, don’t take just one photo of it. Snap away to get just the shot you want. If you’re using a SLR camera, you can also bracket these shots with different f-stops and lighting combinations to give yourself the best opportunity to capture a keeper.
The fact is, the more pictures you take, the better you’ll get at both composition and operating your camera. You’ll also have more choices when you review your images after your dives. Then, because you’ve followed these five underwater photo tips for beginners, you can edit them, crop them, and adjust light and saturation to create your perfect image. Of course, there are more tips — but those can wait for another article.
Author Gil Zeimer took a scuba resort course on Grand Cayman in 1981. He’s been hooked ever since and has explored the underwater world from Australia to Micronesia to Aruba, almost exclusively in warm waters. As a travel writer, journalist, and advertising writer, Gil is passionate about helping diving industry clients promote their sites, resorts, and causes. He lives in Tiburon, California, which is Spanish for “shark.” Find out more about him here or follow him on Facebook.
 Private Scuba Tuition – Learn Scuba Skills.
Leave a Reply
Want to join the discussion?Feel free to contribute!